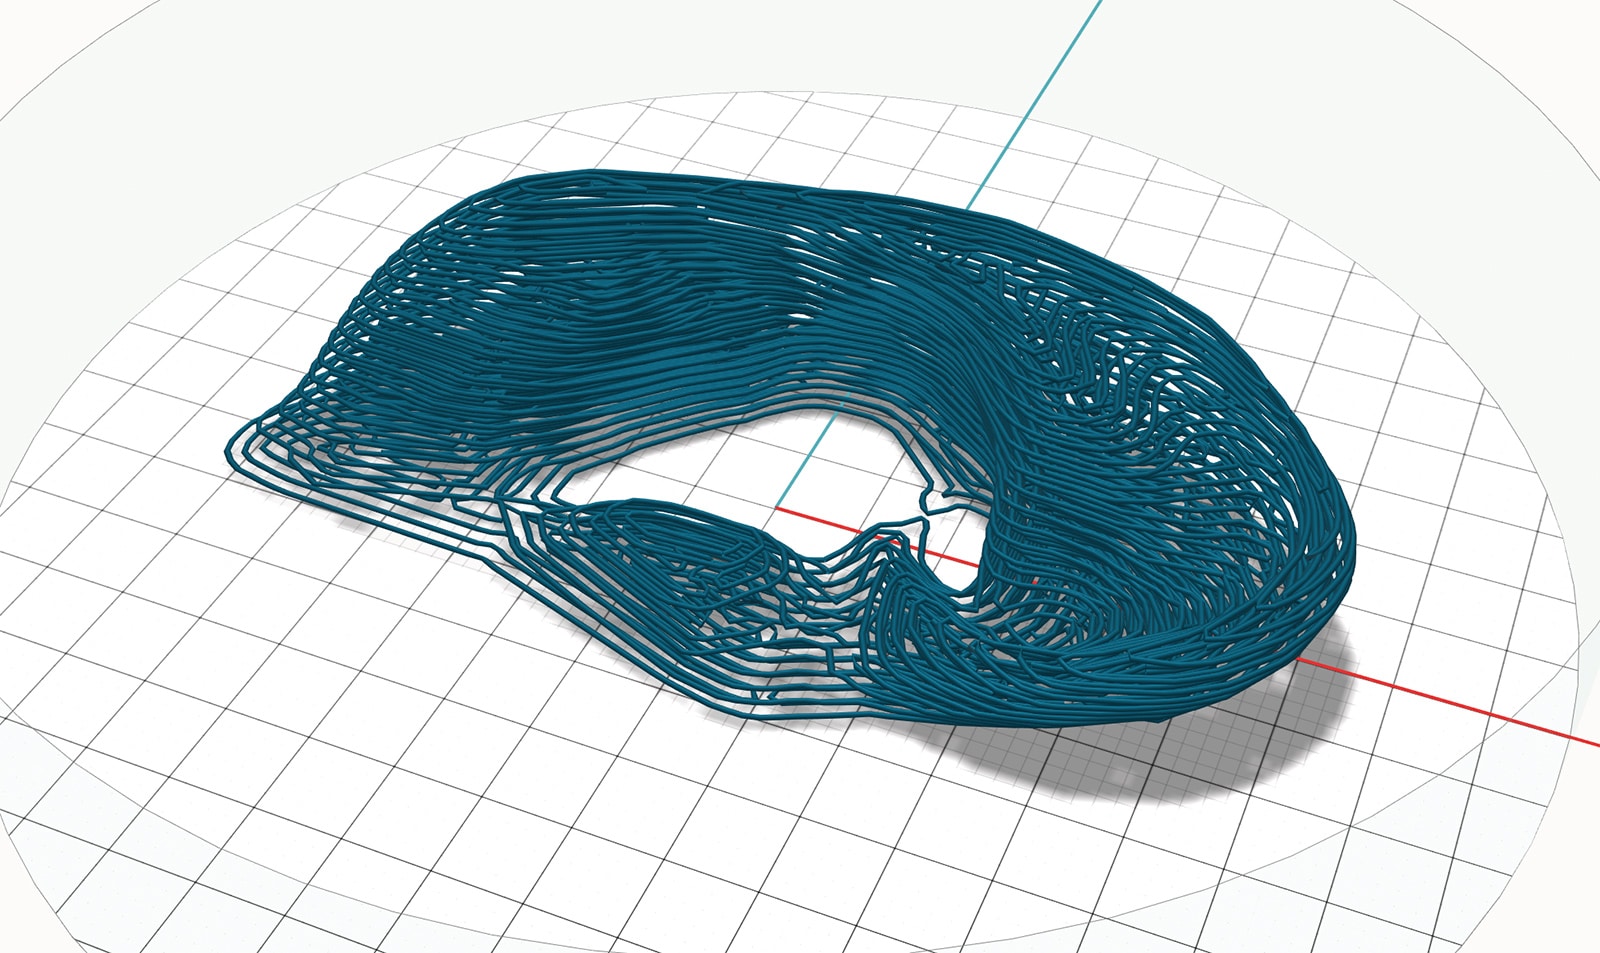
As the intermediate between STL models and a bioprinted model, G-code is a scripting language, or set of instructions, for controlling a 3D printer or bioprinter. G-code holds a lot of importance but often isn’t understood well. Being able to read G-code is the first step to troubleshooting your models more effectively and gaining a better understanding of your bioprinter. This is our guide to using G-code.

We recommend reading this guide all the way through the first time, but it can serve as a reference in the future for troubleshooting or writing G-code.
What is G-code?
G-code is a plain text script that tells a 3D printer what to do, including the Allevi 1, Allevi 2, and Allevi 3 bioprinters. It controls where and how the printer moves, what functions are turned on or off, and everything in between. It is usually created when a 3D model (usually in the form of a .STL file) is “sliced” according to user-set parameters. The parameters specify layer height, speed, infill pattern, and many other characteristics. It’s called “slicing” because the software takes a 3D model and cuts it into many different layers that the 3D printer then extrudes on top of each other, one by one, to recreate that 3D model. G-code can also be designed and typed by hand.
Useful Software
Common Commands
For quick reference, download the Allevi G-code Documentation pdf. It’s filled with many commands useful for custom G-code printing!
G commands
G commands control movement and settings that relate to movement. ‘G1’ is likely the most common command in your G-code since it codes for ‘Linear Movement.’ ‘G1’ commands are typically followed by coordinates. The printer reads this as ‘move in a straight line from my current position to these coordinates.’
M commands
There are hundreds of settings that control 3D printers. Everything from turning on fans to transferring file to accessing different parameters is controlled via M commands. While they can be very useful, many of them are printer-dependent and may not work on Allevi bioprinters.
F values
The F values stand for feed rate, but in essence, mean the speed at which the extruder is traveling. F values are in terms of mm/min, so just divide by 60 to get mm/s (Ex: F300 = 5mm/s). There are two types of speed: travel and print. Travel speed is how fast the extruder moves while not extruding. This is a setting in slic3r and can be set independent of material type. The print speed is how fast the extruder moves while extruding material. This is a print parameter that is dependent upon the bioink in use.
E values
In order to extrude, your G-code must have E values. They are what differentiate a travel movement from an extrusion movement. E values on traditional, filament-based 3D printer signify the cumulative amount of material that’s been extruded so far, but in a pneumatic system, that amount is more reliant on pressure and the material used. Slicing software will automatically calculate these values, but for hand typing G-code, there are a few important things to note. First, E values of 0 will not work and are essentially like having no E value. Also, E values must increase each line since constant values imply that no more material is being extruded. Values are reset or ‘zeroed’ by ‘G92 E0’ (since ‘G92’ means ‘Set position’). You’ll often see this command at the beginning and end of a block of extrusion movements. Extrusion is first zeroed and finally stopped using the same command!
Other values
T commands are used to specify which extruder the printer should use. ‘T0’ codes for Extruder 1, ‘T1’ codes for Extruder 2, and so on. If there is no T command in the G-code, the printer will assume ‘T0’. However, any time you want to switch to a different extruder you must specify which. (Slicing software will do this automatically).
Semicolons allow you to write comments in the G-code. Anything after the ‘;’ will not be read by the printer.
Examples
There’s no better way to learn than to do, so let’s start by taking an STL model and turning it into G-code! We’ll be using Repetier-Host to visualize the model and Slic3r to slice it.
Example 1
File: lattice_1layer_1extruder.STL
Slicer settings
- Layer height: 0.2mm
- Speed: 6mm/s
- Infill: 0%
Here’s the sliced file as a reference: lattice_1layer_1extruder.gcode
Now let’s break this G-code down.
Lines 1-7 are just commenting some parameters. This is not important for the operation of the printer but is helpful for anyone reading the G-code.

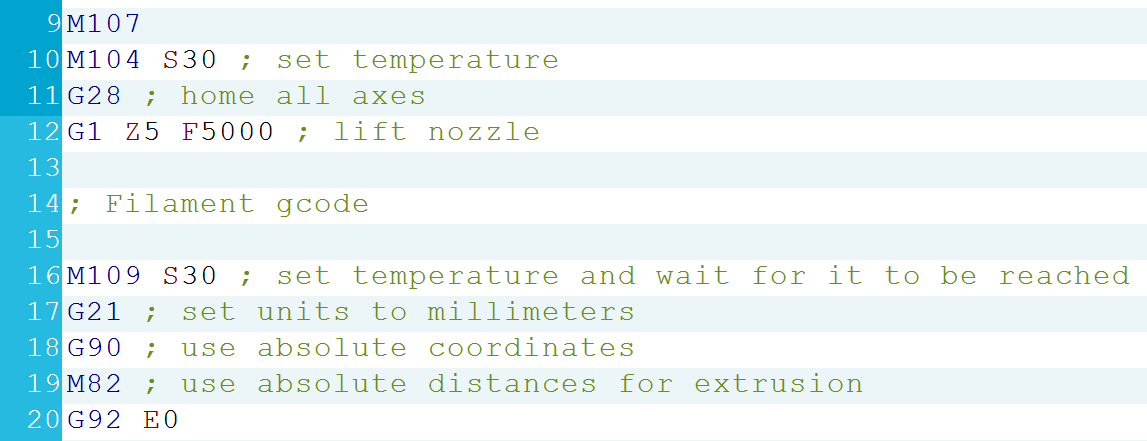
Lines 9-20 are setting up the printer. You’ll notice that many of the G and M command lines have commented explanations.
Lines 17-20 are particularly important as they control how the printer will read the G-code. ‘G21’ sets all movement units to millimeters. ‘G90’ means the coordinates will be read as absolute positions, rather than ‘G91’ which is relative coordinates. For example, on line 24 (below) ‘G1 X2.800 Y-2.700 E0.02489’ means to move to the coordinates (2.800, -2.700) with respect to the origin (set during calibration). If this G-code used relative positioning, line 24 would mean to move up 2.800mm in the X-axis and move down 2.700mm in the Y-axis from its previous position. On line 19, ‘M82’ also calls for absolute units, but for the E-axis. This means that E values should be increasing. Otherwise, with ‘M83’ relative extrusion would allow for constant values. Finally, line 20 zeros the E-axis, as mentioned in the E values section.

After line 21, we get into the movement commands. Line 21 moves the bedplate down to whatever layer height was set, giving the bioink space to be printed. Because of this, the extruder will always go slightly above the point to which you calibrated. Line 23 changes the travel speed from 12mm/s (F720) to 6mm/s (F360) for material extrusion. Lines 24-30 tell the extruder to move from location to location. As you can see, the E values are continuously increasing.

At the end of sliced G-code files, there are usually many lines of comments with all the settings listed. This can be helpful for troubleshooting but is not necessary.
This is a very detailed wiki that contains every G-code command and its parameters. Some of these are specific to other 3D printers and won’t work with Allevi bioprinters (humidity, vacuum, conveyor belt) and others will likely never be useful to you. However, it is very valuable and helpful for looking up what individual commands are used for.

